10 Tips on How to do a Pre-Ride Safety Check

Why bother with a pre-ride bike check? It seems like a waste of time, but picture yourself on a ride where you are riding along enjoying your group ride. You feel fresh and frisky, the sun is shining and all is right with the world. But then disaster strikes! You have a massive mechanical failure and have to abandon the ride and phone a friend. That would be simply embarrassing and can possibly be avoided by doing a quick pre-ride check...
Major and minor mechanical failures may be prevented by taking the time and effort to give your bike a careful check the night before your ride.
Here are 10 tips to help you check over your bike before your ride and keep you safe:
1. Give Your Bike a Quick Wipe
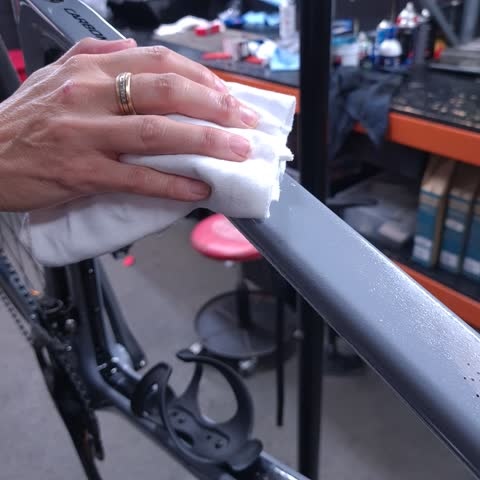 (wiping down bike frame after cleaning with Muc-Off Waterless Wash)
It is always good to give your bike a quick wipe down the night before your ride, as you might notice small issues that can be quickly sorted.
As you wipe it down, cast your eye over all the parts to make sure everything looks like it should.
A clean looking bike always looks smart on the ride!
2. Check Your Tyre Pressure
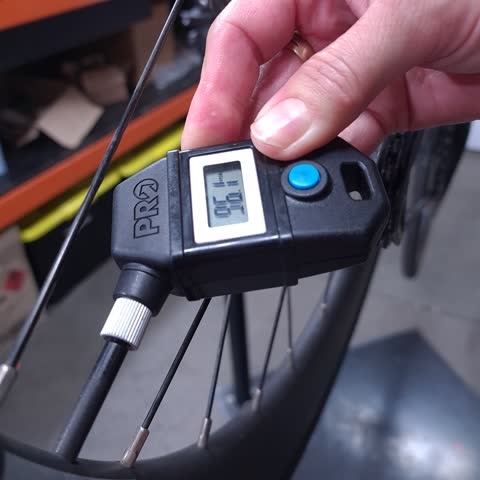 (checking tyre pressure with Pro Digital Gauge)
ALWAYS check your tyre pressure before every ride.
If the pressure is more than 30% lower than when you last pumped, you most likely have a puncture.
This gives you an opportunity to change your tube all ready for the ride and prevent the disappointment of missing out on a ride.
Pump up your tyres to the correct pressure as they do lose a bit of air every day.
If your tyres are pumped, you are more likely to roll faster and your tyres will be more puncture resistant. No one likes to get a puncture, right?
The recommended pressure for your tyres will be printed on the side of the tyre wall.
The measurement will most commonly be PSI (pounds per square inch) and there will be a minimum and maximum recommended range.
Riding on road will require the pressure to be at the maximum end of the range, to ensure fasting rolling tyres and more puncture resistance.
Riding trails, however, will require the pressure to be at the lower end of the range for more grip on rough, rocky terrain.
Pirelli Tyres have a great chart on recommended tyre pressure: Pirelli Tyre Pressure Chart
Goodyear also do a Tyre Pressure Calculator: Goodyear Tyre Pressure Calculator
3. Check Your Brakes
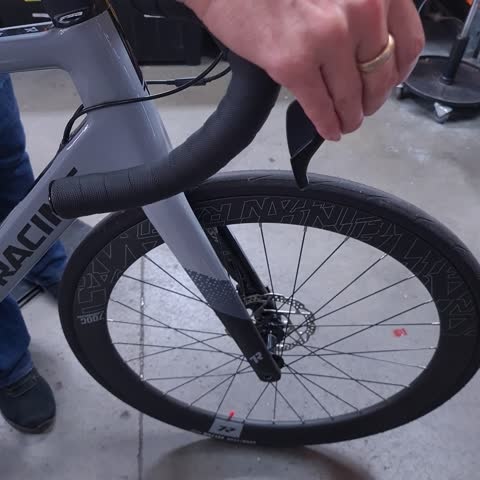 (checking front and rear brakes)
Check that your brakes are working well.
It sounds so obvious, but it is an easy thing to overlook and a quick check can avoid a nasty accident. Brakes are pretty important!
Squeeze each brake lever and rock the bike forward as you squeeze. Make sure both the front and rear brakes hold firmly.
If you have rim brakes, cast your eyes onto the pads to make sure they have not worn down too much, as they will need to be replaced when worn.
If you have disc brakes, this is trickier to check. You will feel the worn pads when you pull on the brake as it will feel shuddery or it will make a metal squealing noise.
It is not wise to get to this point as it is not good for the rotor, so as soon as something feels off and the braking is not smooth, it might be time to pop it into the store for the Bike Mechanic to check the pads and replace if needed. Regularly keep your bike serviced in our workshop to stay on top of wear and tear.
4. Make Sure Your Wheels Spin Freely
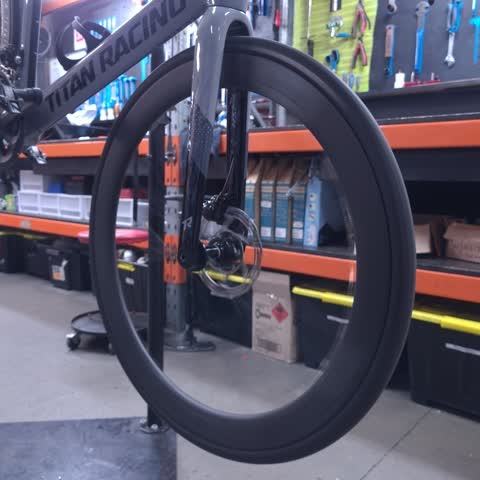 (make sure wheels spin freely)
Spin the wheels to check that the brakes aren’t catching (this won’t happen on disc brakes unless your rotor is warped but is common on rim brakes).
You can adjust the whole rim brake mechanism by grabbing it with your hands and moving the brakes into a central position that stops the pads from rubbing against the rim.
You can also try and re-seat the wheel (i.e. undo the skewers and put the wheel in straight as it might have been put in at an angle, causing the brakes to rub).
Riding with the brakes stuck on the rim will be hard work and will ruin your ride!
5. Check Your Headset
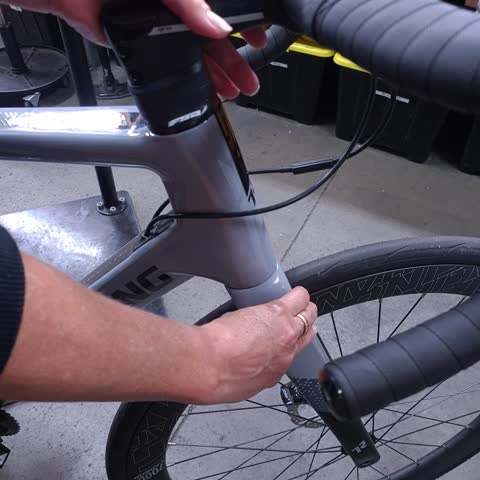 (check headset)
Do a quick check of your headset.
Nuts and bolts can come loose if you ride on rough roads.
Stand in front of the bike, holding the fork in one hand and the down tube in the other. Push and pull on the fork to check for any movement in the headset.
Rotate the fork slowly from side to side to feel for any roughness. If the headset is loose, then tighten the stem bolts and the Allen screw atop the stem.
If the headset feels too tight, then loosen the Allen screw atop the stem and the stem bolts and adjust the tension by slowly tightening these bolts to the correct tension.
6. Check Your Bottom Bracket
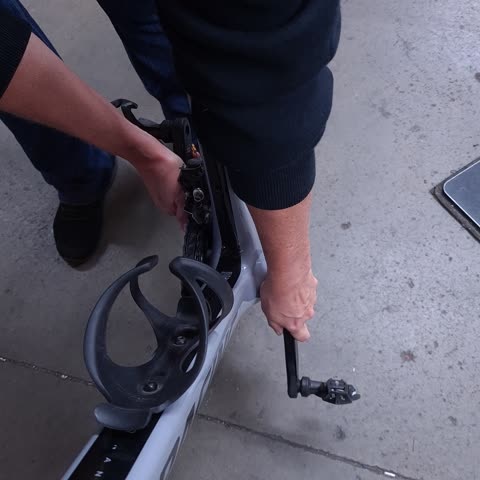 (check bottom bracket)
Bearings can come loose and cause problems, so check the bottom bracket.
Stand beside the frame, hold the crank arms, and push and pull, feeling for play.
Most bottom brackets are sealed and reliable. If yours is loose, have a shop remove the crank arms and adjust it.
7. Always Carry Spares and Multitool
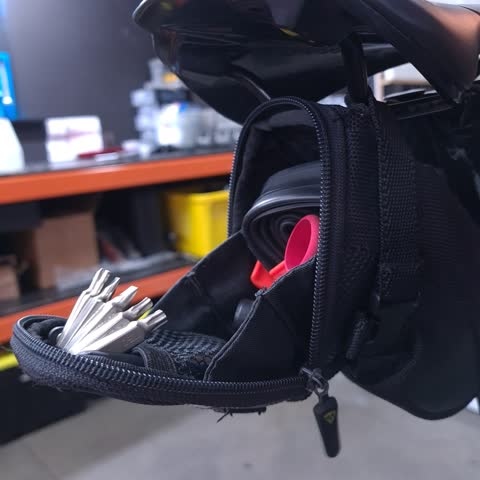 (always carry a spares and a multitool)
It is always useful to carry a small set of Allen keys or a multitool in your saddle bag in case something comes loose on the ride.
It is a small, light and compact tool that will come in handy when you need it.
Make sure you carry a spare tube, tyre levers CO2 Regulator and CO2 gas cannisters in your saddlebag. Then you can change a puncture quickly and easily.
Check the contents of your saddlebag to ensure that you haven't forgotten to replace used gas cannisters and tube after your last puncture.
8. Check Your Wheels and Spokes
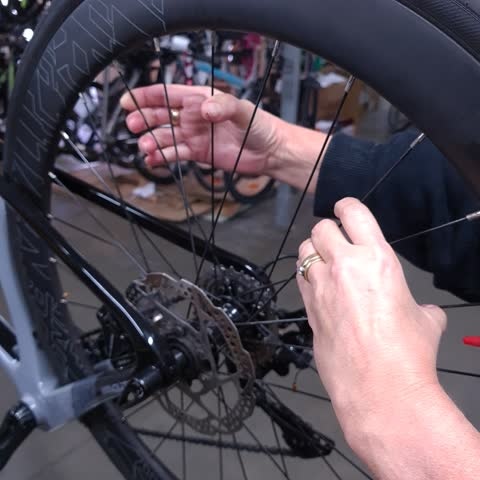 (check spokes and use a spoke tool to tighten if needed)
Wheels can be out of true and spokes can come loose, so make sure you check your wheels and spokes.
Starting at the valve stem, work your way around each wheel, wiggling the spokes to see if any are loose.
After checking a few, you’ll get a feel for the correct tension.
If you find loose spokes, tighten them by turning the nipple clockwise with a spoke wrench (when sighted from above) in half-turn increments.
Then spin the wheels and sight trueness by looking at the gap between the rim and brake pad.
If you see a wobble, you’ll need to true the wheel, and unless you know what you are doing, it is best to book it in for a proper Bike Mechanic to true.
If you find one of the spokes is broken, do not ride your bike with a broken spoke, you will damage your rim.
Grab your front wheel and jiggle it from side to side to see if there is any play in the wheel.
Sometimes the bearings come loose (this is a job for a mechanic), or sometimes the wheel hasn’t been put in properly and you can sort this out yourself by making sure the wheel is in securely and the skewer is tight.
Do the same with the back wheel.
9. Check Your Pedals
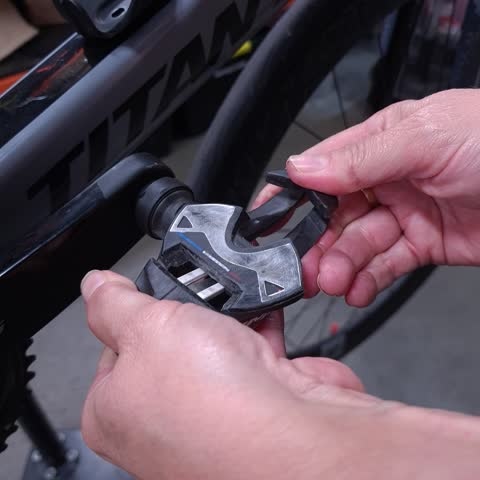 (checking the pedals for play)
Check that your pedals are firm and not loose and lift the back wheel and turn the crank a few times just to check that nothing feels weird.
Grasp each pedal with both hands and double-check there is no play in each pedal.
10. Check Your Chain
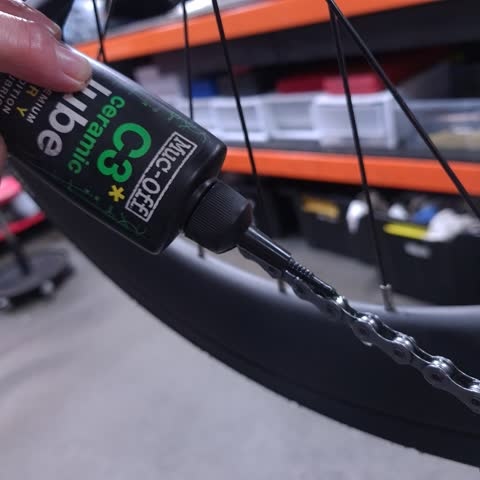 (check chain)
Check your chain carefully before a ride.
If the chain is very dirty, grab a rag and run your chain through it to get off all the grime.
Reapply a strip of lube and wipe off the excess lube with a rag. This will prevent dirt build up.
Some lubes like ceramic lube need to be applied 4 hours before a ride, so it is best to lube the night before to give the lubricant time to settle in and dry.
Check if there are any bent chain links. Having a snapped chain halfway through a ride, could spell disaster.
Conclusion
These checks will only take you a few minutes but are well worth doing to keep you safe and save you hassles on your ride. Make it a habit and do these checks before every ride. You will become skilled at picking out problems with your bike and sorting out the smaller issues before they become bigger issues.
So in summary, we:
- Wipe down the bike
- Check the tyre pressure
- Check the brakes
- Make sure the wheels spin freely
- Check the headset
- Check the bottom bracket
- Always carry spares and a multitool
- Check the wheels and spokes
- Check the pedals
- Check the chain


